How to Save Thousands Painting Your Unwanted Furniture
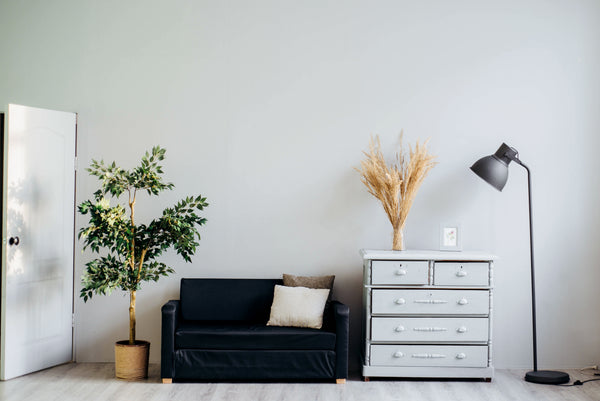
We all have furniture stored, hidden or discarded because we’re just not too thrilled with its appearance anymore. Whether you got stuck with granny’s 50-year-old wooden tallboy, made an ‘inspired’ buy at the salvos or landed kitsch kitchen cabinetry in your first home – there’s an easy way to paint your wooden furniture so you get it right the first time.
Why Should I Hold On to My Old Wooden Pieces?
Wooden furniture lends an earthy and soft quality to any space. Its more obscure qualities will have you look at your dilapidated dining table a little differently. Wood furniture is durable and the best option if the longevity of your purchase is important. This material is strong and reliable providing an excellent value for money – in the event you sell your timber piece, its value is more likely to maintain rather than decrease, unlike veneer and MDF (medium-density fibreboard). Sustainably sourced timber is crucial in reducing your carbon footprint and helps fight climate change. On average, 1kg of wood stores up to 450-500 grams of carbon – that’s 50% of stored carbon. Timber also stores carbon making timber furniture an environmentally conscious choice. Buying or holding onto second-hand wooden furniture is even more sustainable – with no new resources needing to be used to manufacture the piece.
If you’re looking to give your wooden furniture new life or want to save money buying new wooden furniture in the hue of your choice, here’s the foolproof guide to painting timber furniture correctly – the first time.
The wrong kind of paint and technique will produce a tacky or sticky finish, making it stain easily and difficult to clean. After time and use the paint may crack, peel or dent and the colour may lose its initial vibrancy.
Comparatively, when furniture painting goes right (and using this guide it will) the surface will be easily cleaned, smooth and will only chip after a long time of use and wear. Correctly painted furniture shouldn’t dent and will be hard and durable so you can display your favourite flower pot and ornaments without cringing at the thought of scratching your dining table.
First, it’s critical you choose suitable paint. Wall paint and furniture paint are two non-transferrable products that can not be used interchangeably. For a lasting, professional finish it’s best to apply a primer coat before you apply paint. This prevents old stains from coming through the new paint. Your primer type must match the type of paint. Semi-gloss and satin finishes in latex or oil-based paint are best for furniture. Hence, a latex primer with latex paint will give you the cleanest and most durable finish. Latex-based primers are great because they don’t have as much of a heavy odour as oil-based primers. Oil-based primers can be used with latex paints however oil-based paints must only be used with oil-based primers. Ask your local hardware store clerk before you purchase your first litre of paint as they have extensive and specific product knowledge about the paint brands available to you.
1. Preparation Over Performance
Before you suit up and slap on a coat of primer, it’s vital to prepare your furniture piece. Remove all hardware, drawers and doors if possible. Dismantling the furniture as much as possible makes the piece easier to paint but lends a cleaner finish.
After separating the piece into its simplest parts it’s time to clean it – this is so important if you’re repurposing an old piece of furniture that’s been gathering dust in the garage for a while. Using an oil soap or a degreaser if you’re not sanding the piece. However, if you are, (we recommend sanding always) use a damp microfibre cloth or tack cloth to remove dust and prevent cracks or peeling after painting.
2. Sand
If your piece already has paint on it, use a paint stripper first to remove the old paint. However, however, if you’re working with plain timber furniture, then sand with the intention of removing imperfections. Your aim is to roughen the texture (and remove the glossy finish) of the surface so the paint will have something to grip onto. Use medium-grit sandpaper. If the furniture is already dull then less sanding is required. Dust off the piece with a damp microfibre cloth or a tack cloth.
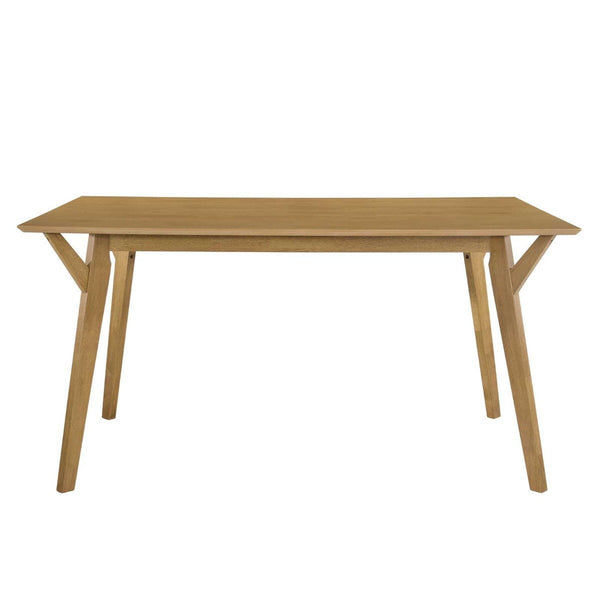
6 Seater Dining Table Solidwood Oak Payday Deals
3. Prime Time
After your furniture has dried and removed of all dust – it’s time for primer. Primer is a white coloured pre-paint coat that helps your coloured paint adhere to the wood and also covers up any stains or discolouration that may peak through the paint.
4. Sanding – again!?
Yes, this painting is simple in writing but quite tedious, that’s why it’s so important to master this technique once and for all so you don’t waste your precious time on trying to perfect your paint over and over. This time, use fine-grit sandpaper and lightly sand the piece. You will do this between every coat of paint to get a clean and even finish. Dust off residue – and be sure to wear a dust mask as you’re releasing fine powders of these paints into the air.
5. Time to Paint!
Using a small foam roller, quality paintbrush or paint sprayer apply about three coats of paint – sanding lightly and dusting in between. Each paint will be different, generally, allow about eight hours of drying time between each coat. Make sure to use a new tack cloth in between each sand otherwise the same pieces of dust or lint will adhere to the paint and really show when you apply top coat or a protective finish. You can do touch-ups and sand the edges so they blend as you see fit.
6. Curing
Make sure you leave enough time for the paint to cure. This is different from the drying process – drying alone still leaves the paint very weak and susceptible to scratches and chips. Leave the piece disassembled for as long as possible to avoid scratches before putting it back together.
Tips for Success
- With the excessive drying times, it’s unrealistic to expect the whole painting process to be done in one day – if you have to pack up your workshop for the day, throw everything in a garbage bag and seal it well so air doesn’t get to it and dry the paint.
- If you get paint on a window or glass don’t panic! Easily remove it by going over the unwanted paint with a damp paper towel, let the water absorb into the paint then go over it with a razor blade to lightly peel/ scratch the paint off.
Painting your own furniture is time-consuming and sometimes frustrating, however, the money to be saved by repurposing old furniture significantly outweighs the effort put into its transformation. New, solid timber furniture can cost in the thousands – imagine buying a new piece to suit your home every 5 years! Invest time rather than money in making any timber piece brighten and enhance your interior. Match pieces to your current furniture with an endless selection of colours. Turn painting furniture into a fun activity with family or friends and learn a new skill.